posted by Dave Arnold
Ike Jime is a Japanese fish killing technique. The spinal cord and main blood vessels are severed at the head and tail, a long needle is pushed down the spinal cord, and the fish is placed in ice water to bleed out.
Several months ago, Dave Chang of Momofuku fame called me and said, “We have to investigate this Ike Jime thing. McGee says it’s bullshit.”
I am pretty sure McGee (that would be Harold McGee, master blaster of science in the kitchen) didn’t say that Ike Jime was bullshit, but rather that he couldn’t think of any reason it would make a difference in the taste of the fish. The part about cutting at the head and the tail and allowing the fish to bleed isn’t really in dispute. This technique does get the blood out. The question is: does the needle in the spine do anything? The Japanese insist that the needle is important because it ensures that the muscle “doesn’t know it is dead.†Skeptics wonder what the point of skewering the spine is after the spinal cord has been cut.
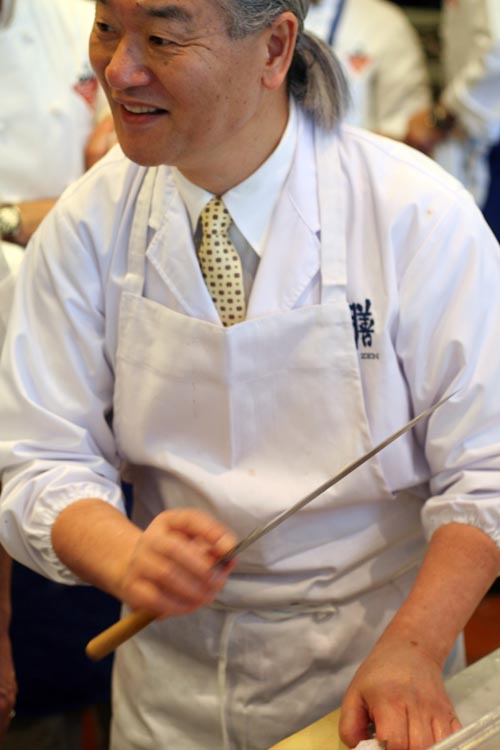
Nils and I set out to do some Ike Jime experiments at the school. We needed an unimpeachable expert so we could make sure it was done correctly. Friend of the school Saori Kawano, from Korin knives, put us in touch with Chef Toshio Suzuki, of Sushi Zen in NYC (btw, if you don’t know Korin, check out their website here. Make sure you have a napkin to wipe up the drool). Sushi Zen is one of the most highly regarded sushi restaurants in New York. Chef Suzuki graciously agreed to come in and demonstrate the technique. I confirmed with Chang, made sure Mindy could come, and the test was set up for last Monday.
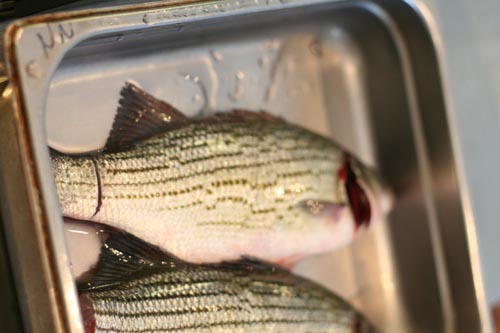
Here’s what we wanted to do: Get 6 live fluke and 2 dead fluke. We would kill 2 fish Western style, 2 Japanese style without the needle, and 2 with full Ike Jime, and then taste the difference between them and the 2 dead fluke. Chef Suzuki said that the technique would be unnecessary and difficult on the fluke we could get, because their spinal cords would be too small. He suggested bass instead (btw his name means bass in Japanese). OK. We ordered live bass. They didn’t have stripers so we got black bass. I called Dave Chang to re-confirm he could come—yes, but he definitely wanted different types of fish, including fluke. OK. We ordered the live fluke as well.
The day of the test, after Chang and Suzuki had shown up with Taeko Takigami from the Gohan Foundation, I realized that the fish company had taken the liberty of killing the fish for us. I guess they thought they we doing us a favor. Crap. Nils was wrapping something else up and I was staring at a box of dead fish, so I ran like a demon to Hong-Kong Supermarket 6 blocks away. Hong Kong, in the heart of Chinatown, always has live fish in their tanks. That day they had farmed stripers and barramundi. I had to find the guy who spoke English so I could explain that I needed to buy them live and put them in trash bags full of seawater. I was worried, because I have had trouble getting special service here in the past. To my surprise, they agreed. I think they were amused by the idea of some nut running out of the store with trash bags full of water because they were unusually helpful. I blasted out of that place with 16 fish in two big bags. When I got back to the school I thought my arms would fall off.
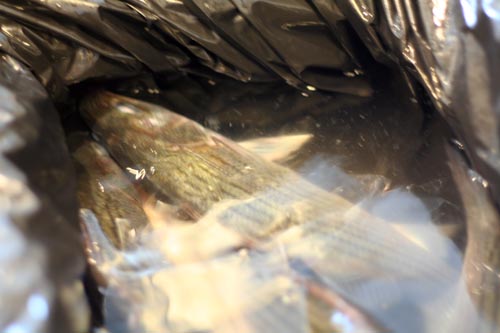
And then I found out the fish company was sending over more live fish to make up for their error. Crap. More types of fish made for a better test anyway, I guess. They were bringing live fluke and black bass, and I had stripers and barramundi. We didn’t have any traditional dead fish-store fish (the fish guys wanted their dead fish back in return for the new live ones), so we wouldn’t have that part of our test. Oh well. We set up a giant Lexan of ice water and got to work.
Â

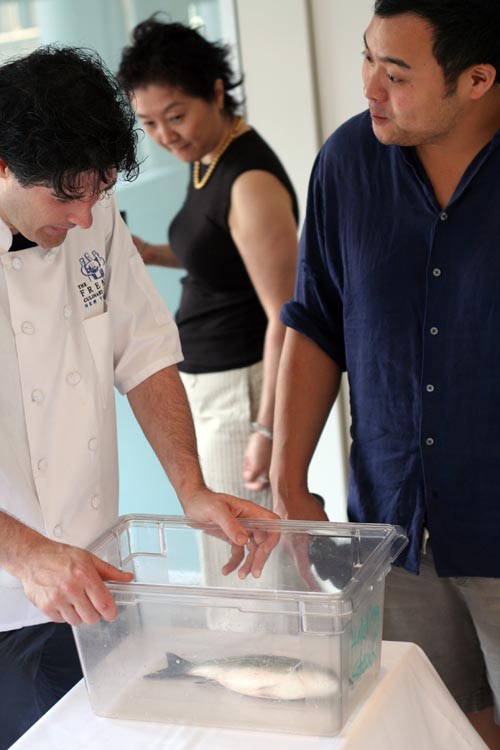
First we did our Western-style fisherman’s kill. We took 2 barramundi, 2 stripers, 2 fluke, and 2 black bass and put them in a bucket. They didn’t die so fast so I put them down with a whack over the head—more humane, although it didn’t feel so good.
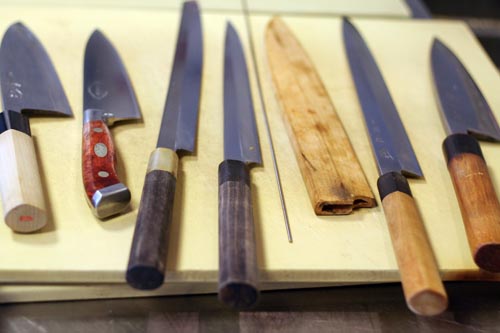
Then Chef Suzuki got to work. He picked up a striper and laid it down on the cutting board, head facing right, stroking it a couple of times. “If you are relaxed the fish will be relaxed,†he said. Then he took his deba (a type of Japanese fish knife that I really like), put the point under and behind the gills right next to the spinal cord and pushed in, severing the spinal cord and blood vessels instantly.

He then pushed down on the back of the knife with his hand until the blade just started to make a mark in the bottom of the gill area and held that position for about 10 seconds. He said that step is important because it helps control convulsions and helps the fish to “continue breathing on its own.†I dunno, that’s what he said.
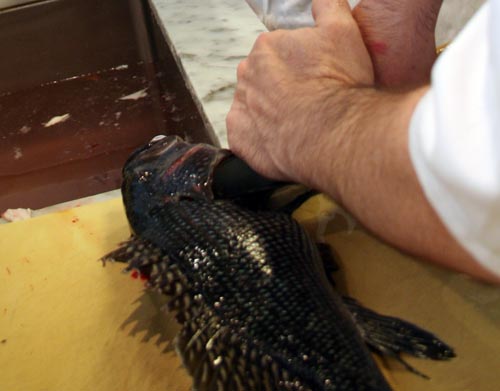
Then he cut through the spine at the tail, making sure he severed everything without actually removing the tail (removing the tail makes scaling more difficult, as I learned later when I accidentally took off the whole tail). Then he took a fine needle and ram-rodded it up the spinal cord from the rear. After a couple of seconds he took out the needle, and immediately put the fish into the ice water. As he did so, he pointed out that you want to keep the body straight but bend out the cut tail and gill part to allow for free bleeding. This, more or less, was the procedure we followed with all of the ike jime fish. The spinal cord on the fluke was, indeed, quite small. We were only able to get the needle into one of them, and not even all the way. Suzuki had us do the technique and tell us right from wrong, so we could do it ourselves next time. The rest of the fish we bled with the same technique but skipped the needle.
Â
Here is the technique start to finish in photos:
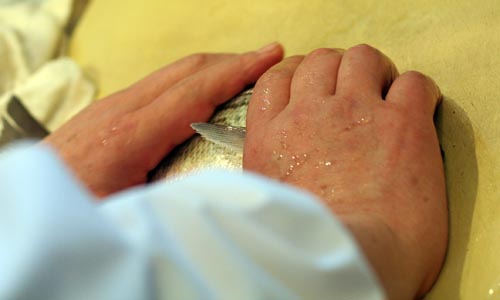
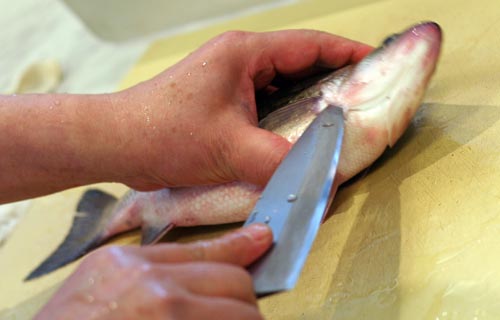
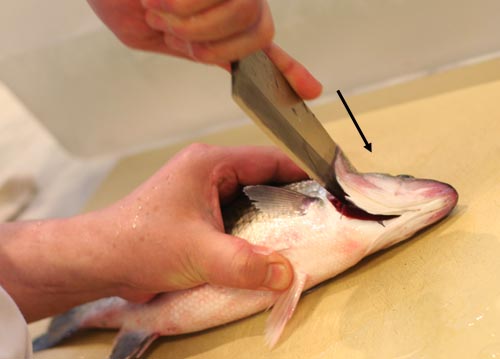
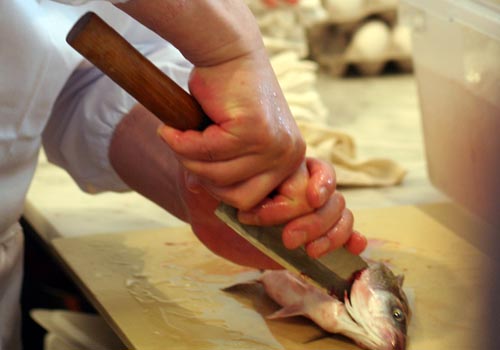
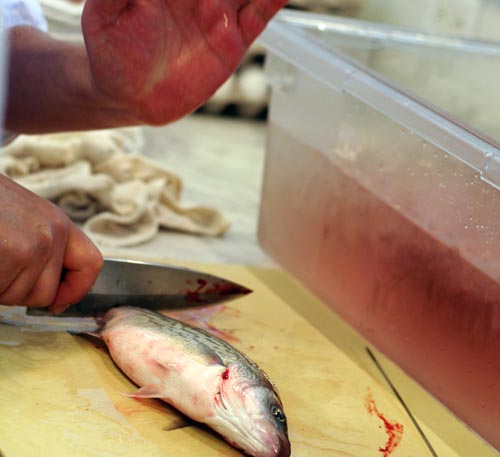


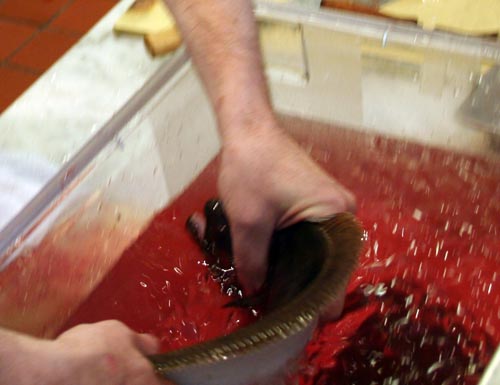
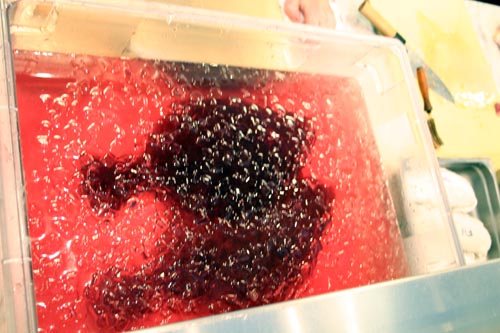
Some notes: the technique of severing the spine by going through the gills is good because it preserves the look of the head. It is also acceptable to cut the spinal cord from above; it just isn’t as pretty and doesn’t have the “press with the knife for breathing†trick. Chef Suzuki put the needle in from the rear because it can’t go in from the front without damaging the head. Nils and I think that going in from the front would definitely be easier if the head doesn’t need to be pretty. Also, getting the needle into the spine is much more difficult if you don’t sever the spine in between the vertebrae. Suzuki was good at this, we weren’t.
Suzuki also showed us the really cool technique of cutting the scales off a fluke using a yanagi (a Japanese fish slicer). I was better at it than I thought I’d be. Of course Nils was good at it. Here is the technique:
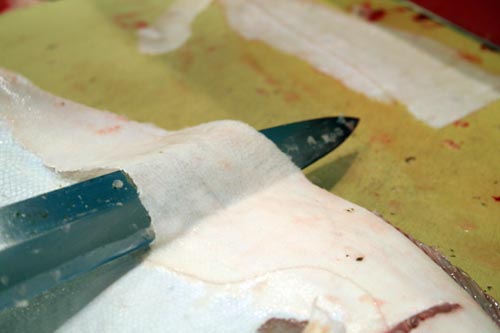

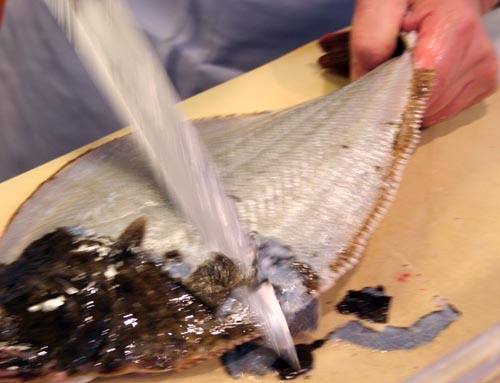
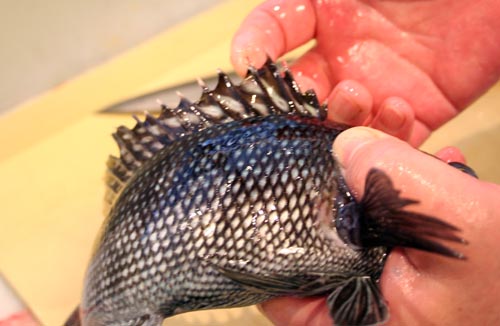
More cool stuff:

At this point Chang had to leave so he didn’t get to taste anything. He vowed to do more tests. “This is just the preliminary,†he said. He has some far-ranging Ike-Jime test schemes that I cannot reveal.
After the fish had rested for a couple of hours, Suzuki San sashimied up some fish for us to taste.
The results? Stay tuned!

STAY TUNED??? Bastard! ARGHHAHRRHHRHAHRHHHH!
my favorite post period. i know it was probably hard to just kill those fish for the sake of an experiment but it seems like you guys learned quite a bit. great post.
wow you killed me with the stay tuned, damn cliffhanger on a blog. really interesting post thought cant wait to read the follow up
Awesome writeup.
Cliffhanger though?! Gah…
:o) And I thought I had it hard filleting a fluke in Level 1!
Awesome and inspiring !2 4
This post is intense jajajaja I loved it!
I’m living in Tokyo now, so there are too many people for chefs to really show off what they can do but, at one of my favorite places in Nakasu in Fukuoka Nakamura-san, the owner/chef for 25 years, has shown me this move so quickly and effortlessly with aji, that when I tried at home with hamachi and could only vaguely do, it was difficult to remember his handiwork.
Nice work.
Great photo sequence which really illustrrates the complexity and skill involved.
This has got to be the most interesting read on food for me this year. inspiring!
Hi, I’m going to post a couple of photos of bleeding out sea bream at an aquaculture farm in Japan.
http://commonerrorsjtoe.blogspot.com/
At the Boston Seafood show, there will be a yellowtail company that makes a big deal of its ikejime processing. I doubt they do the whole needle thing though. More likely just the gill jab and bleeding out.
http://www.japan-seafood.net/english/ex08.html
Regards,
Chris Loew
(SeafoodSource .com Japan correspondent)